You Can Use the _______ Button in the Text Group to Rotate Text Within a Text Box.
Lesson 22: Aligning, Ordering, and Grouping Objects
/en/discussion/text-boxes/content/
Introduction
There may be times when your documents have multiple objects, such as pictures, shapes, and text boxes. You can arrange the objects any manner you want by aligning, grouping, ordering, and rotating them in various means.
Optional: Download our practice document.
Scout the video below to learn more about arranging objects in Word.
To align two or more objects:
- Hold the Shift (or Ctrl) key and click the objects y'all want to align. In our instance, nosotros'll select the 4 shapes on the correct.
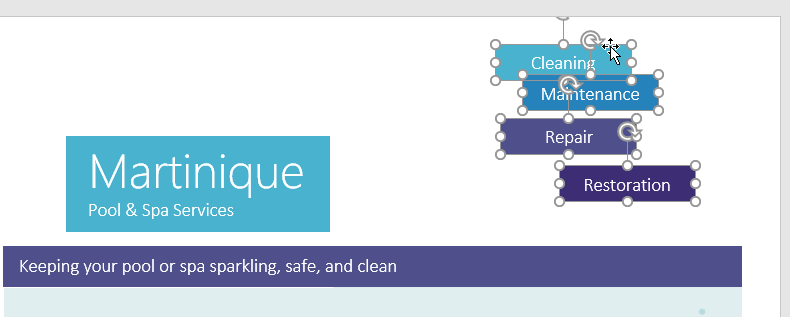
- From the Format tab, click the Align command, then select one of the alignment selection s. In our case, we'll choose Marshal Right.
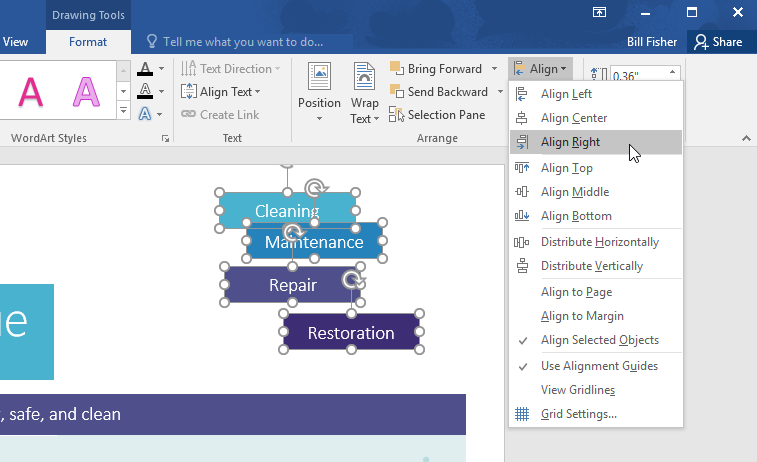
- The objects will be aligned based on the selected option. In our example, the shapes are now aligned with each other.

Annotation that the Align Selected Objects option is selected by default, which allows you to align objects without moving them to a different part of the page. However, if you desire to move the objects to the top or bottom of the page, select Align to Page or Marshal to Margin before choosing an alignment option.
To distribute objects evenly:
If y'all take bundled your objects in a row or column, you may want them to be an equal altitude from one another for a neater advent. You can practise this by distributing the objects horizontally or vertically.
- Hold the Shift (or Ctrl) key and click the objects you want to distribute.
- On the Format tab, click the Align command, then select Distribute Horizontally or Distribute Vertically.
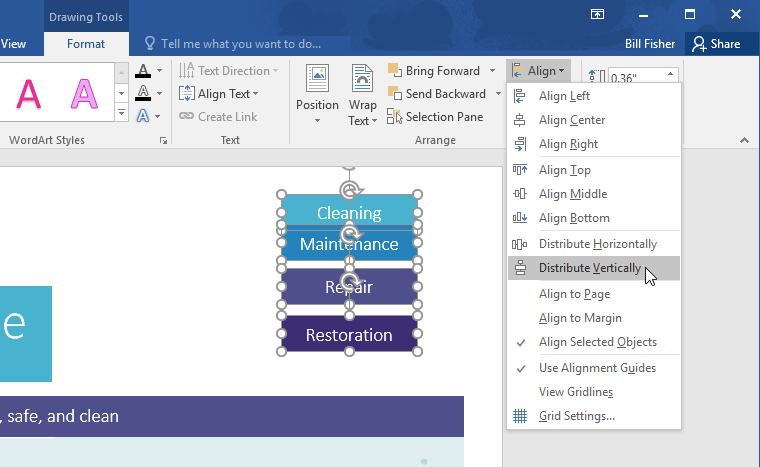
- The objects will be evenly spaced from ane another.
Grouping objects
At times, you lot may desire to group multiple objects into one object so they will stay together. This is usually easier than selecting them individually, and it too allows you to resize and move all of the objects at the aforementioned time.
To group objects:
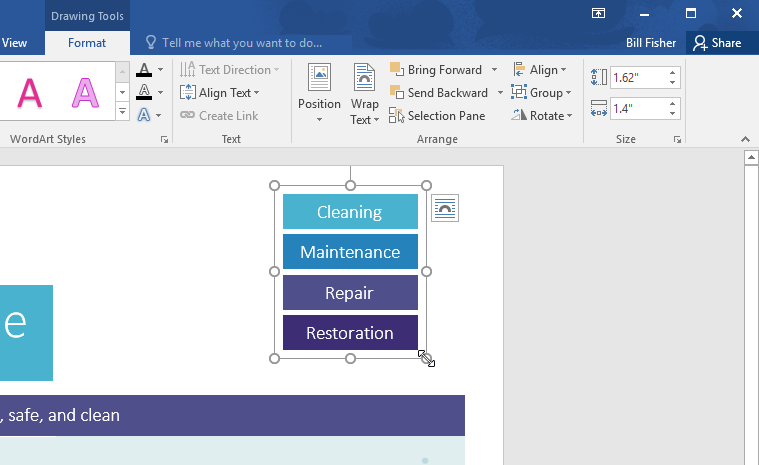
- Hold the Shift (or Ctrl) fundamental and click the objects y'all want to group.
- Click the Group command on the Format tab, and so select Group.

- The selected objects volition now be grouped. There will be a single box with sizing handles effectually the unabridged grouping so you tin can motility or resize all of the objects at the aforementioned time.
To ungroup objects:
- Select the grouped object. From the Format tab, click the Group control and select Ungroup.
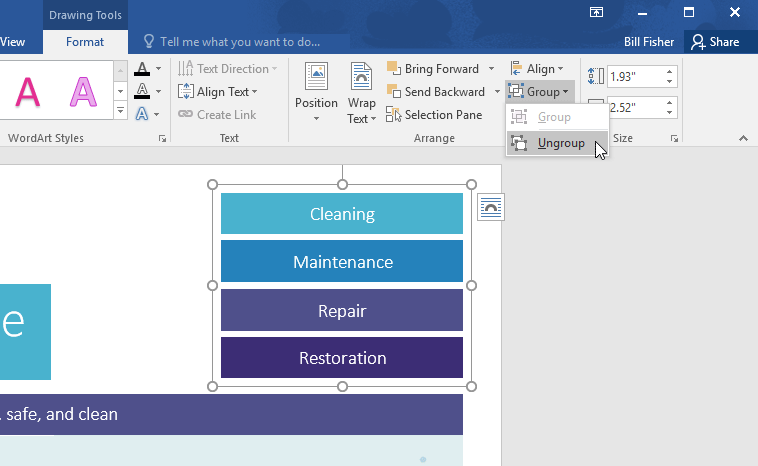
- The objects will exist ungrouped.
Ordering objects
In addition to adjustment objects, Discussion gives y'all the power to arrange objects in a specific order. The ordering is important when two or more objects overlap because information technology determines which objects are in the forepart or the back.
Understanding levels
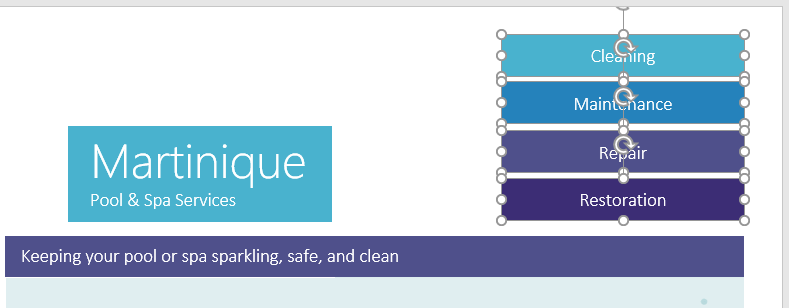
Objects are placed on dissimilar levels according to the order in which they were inserted into a document. In the example below, if we move the waves image to the outset of the document, information technology covers up several of the text boxes. This is because the image is currently on the highest—or top—level. Notwithstanding, we tin can modify its level to put information technology behind the other objects.
To alter an object'south level:
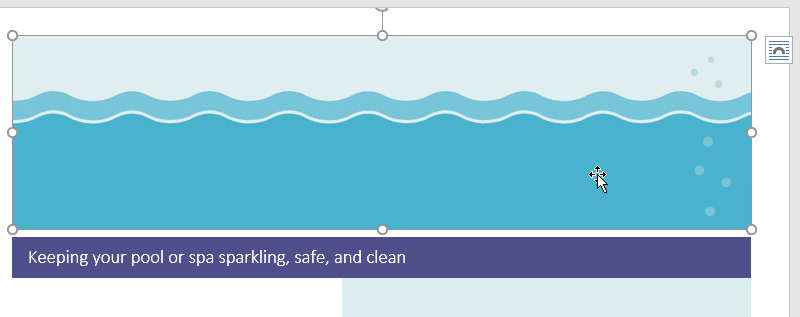
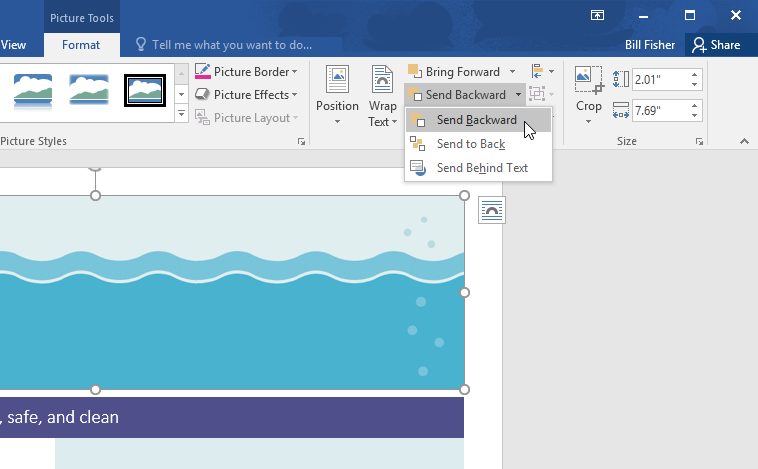
- Select the object yous want to move. In our example, we'll select the image of the waves.
- From the Format tab, click the Bring Forrad or Send Backward command to change the object's ordering by i level. In our instance, nosotros'll select Send Backward.
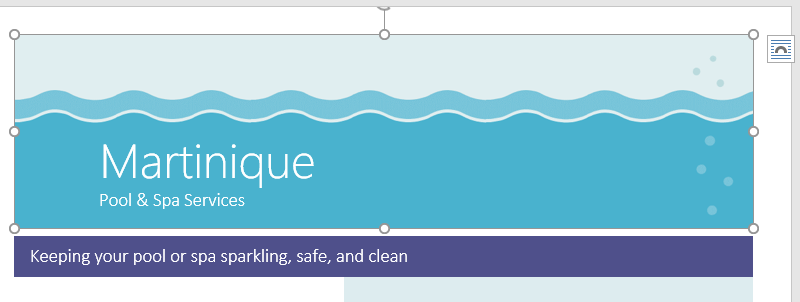
- The objects volition be reordered. In our case, the paradigm is at present behind the text on the left, but it'south withal covering the shapes on the right.
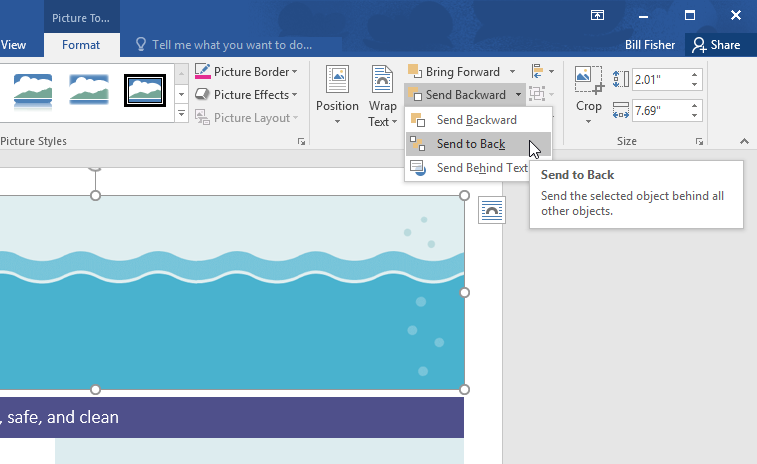
- If you lot want to move an object behind or in forepart of several objects, it's usually faster to use Bring Forward or Send Astern instead of clicking the other ordering control multiple times.
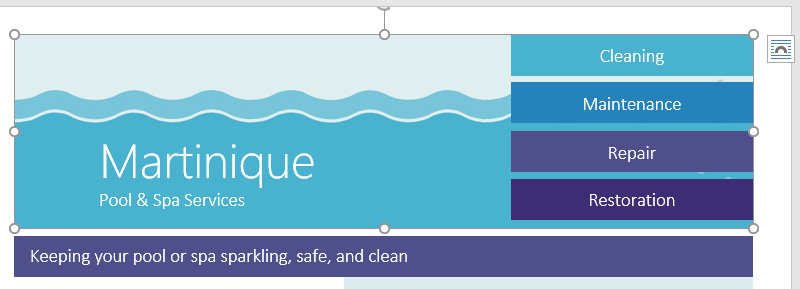
- In our case, the image has been moved backside everything else on the page, so all of the other text and shapes are visible.
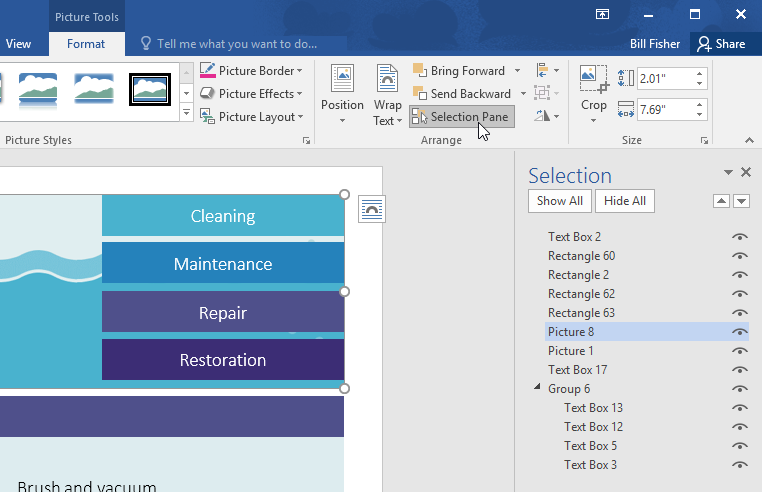
If you take several objects placed on top of each other, it may exist difficult to select an individual object. The Pick Pane allows y'all to easily elevate an object to a different level. To view the Selection Pane, click Choice Pane on the Format tab.
To rotate or flip an object:
If you need to plow an object so it faces a different direction, you can rotate information technology to the left or right, or you can flip it horizontally or vertically.
- With the desired object selected, click the Rotate command on the Format tab, so choose the desired rotation option. In our example, we'll choose Flip Horizontal.
- The object volition exist rotated. In our instance, we can now see the bubbling on the left that were previously subconscious behind the text boxes.
Challenge!
- Open up our practise document.
- Scroll to page ii and select the motion-picture show of the waves at the top of the folio.
- Use the Rotate command to flip the waves vertically.
- Use the Send to Back command to motility the waves behind the Martinique text box.
- Move the Martinique text box then it is near the bottom of the waves image.
- Make sure the waves pic and Martinique text box are no longer selected. Hold down the Shift key, then select the text boxes containing Cleaning, Maintenance, Repair, and Restoration.
- Click the Align control, and brand certain the Align Selected Objects option is selected. Select Align Correct and Distribute Vertically.
- With the text boxes still selected, grouping them.
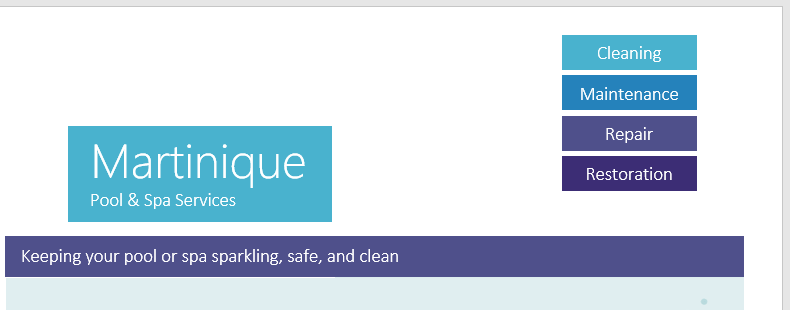
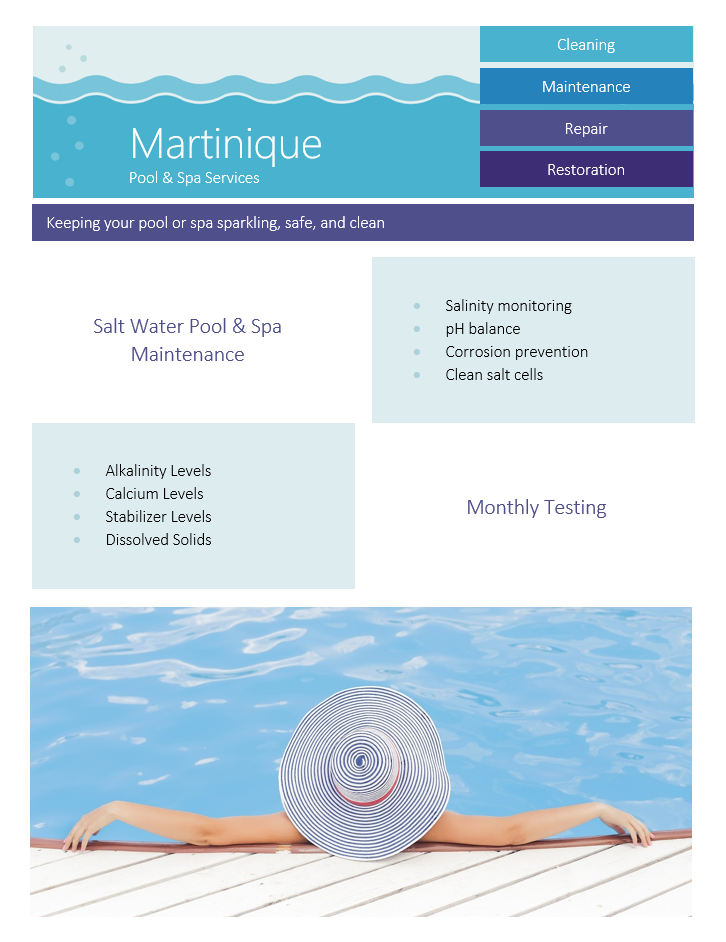
- When you're finished, your folio should wait something like this:
/en/word/tables/content/
Source: https://edu.gcfglobal.org/en/word/aligning-ordering-and-grouping-objects/1/
0 Response to "You Can Use the _______ Button in the Text Group to Rotate Text Within a Text Box."
Post a Comment